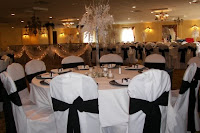
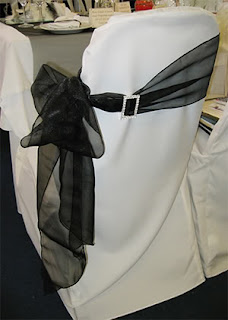
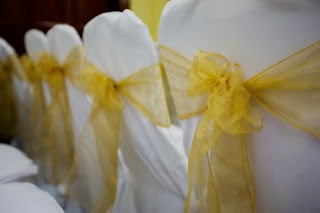
I'm sure I don't need to tell you that weddings are an expensive business, but when it gets to renting chair covers and bows, things start to get more than a little ridiculous. Think about it, the fabric or ribbon needed for a chair back isn't going cost that much for you to buy, so are you really just going to pay someone to tie bows? Of course it isn't a difficult process, but there are some tips that will give your bows that professional finish.
Choosing Materials and Colors
You will no doubt already have your wedding color chosen, and are likely to choose this as your bow color for the chair backs for your wedding. If though, you have your main wedding color taken by the chair covers, you may be looking for a coordinating, or complementary color for your bows. There are 3 options:
- A monotone scheme - using the same color but in a different shade.
- A harmonious scheme - using a color next to your main color on the color wheel.
- A complementary scheme - using the color opposite your main color on the color wheel. You may want to use a more subdued shade, such as a pastel if you don't want to create too much of a color statement, as a complementary color scheme is the hardest to use well.
- Organza
- Satin
- Soft cotton
How To Make The Bows


With your color and material choice made, the next step is preparing the fabric.
Obviously how much fabric you need will depend on the style of chair, but usually you will need a piece of fabric measuring around 6 feet (2 meters), with a width of 6-9 inches (15-22cm); you can make this wider to create a more luxurious feel to your bows if you wish. It is ideal to cut out one piece of fabric, and to test tie a bow to your wedding chairs, to see if these dimensions work, and adjust accordingly.
If your chosen fabric is likely to fray, then overclocking or zig-zag stitching around the edges is an ideal solution.
There are several methods you can use for the actual making of the chair back bows:

- A simple sash is an easy and effective way to decorate a chair back for your wedding. Simply wrap the fabric around the chair, and tie in a simple half-knot (the way you would begin to tie up shoes). Use a small safety pin behind the bow, to keep the layers of fabric in place.
- A classic bow can be created, in much the same way as you tie up your shoes. Ensure that both ends are equal and begin to tie. A good tip to use, if you find this difficult is to kneel on the actual chair and lean over, and tie the bow upside down; it is then easier to manage the fabric. Or if you are working as a team, get one person to hold the half knot in place, as the other ties the bow.
Different Ways of Presenting the Bows
There are of course other ways of adding decorative appeal to the chair back bows at a wedding:
- Use just one select bloom, and push the stem into the knot section of your bow. If the bow is too rigid you can slide it between the chair and the bow, or cut off the majority of the stem, and use a simple dressmaking or safety pin to attach the flower to the back of the bow.
- Depending on the time of year, and location, you can adjust this theme by using either a simple palm leaf for a tropical wedding, or when decorating for a winter wedding, a pine cone, cinnamon stick and berries make an attractive alternative chair back decoration, attached to the bow with floristry wire.
- For open backed chairs, try tying the chair back bow in a vertical style around the top of the chair.

Whichever method you choose, knowing how to make the bows to decorate chair backs for weddings is sure to be a cost-effective and rewarding experience.
http://amigosparasiempre4.blogspot.co.uk


0 komentar:
Posting Komentar